Static HTML
Deploy a static HTML site and learn how to host frontend code on Code Capsules. At the end of this guide you'll have the application below deployed and ready to customise.
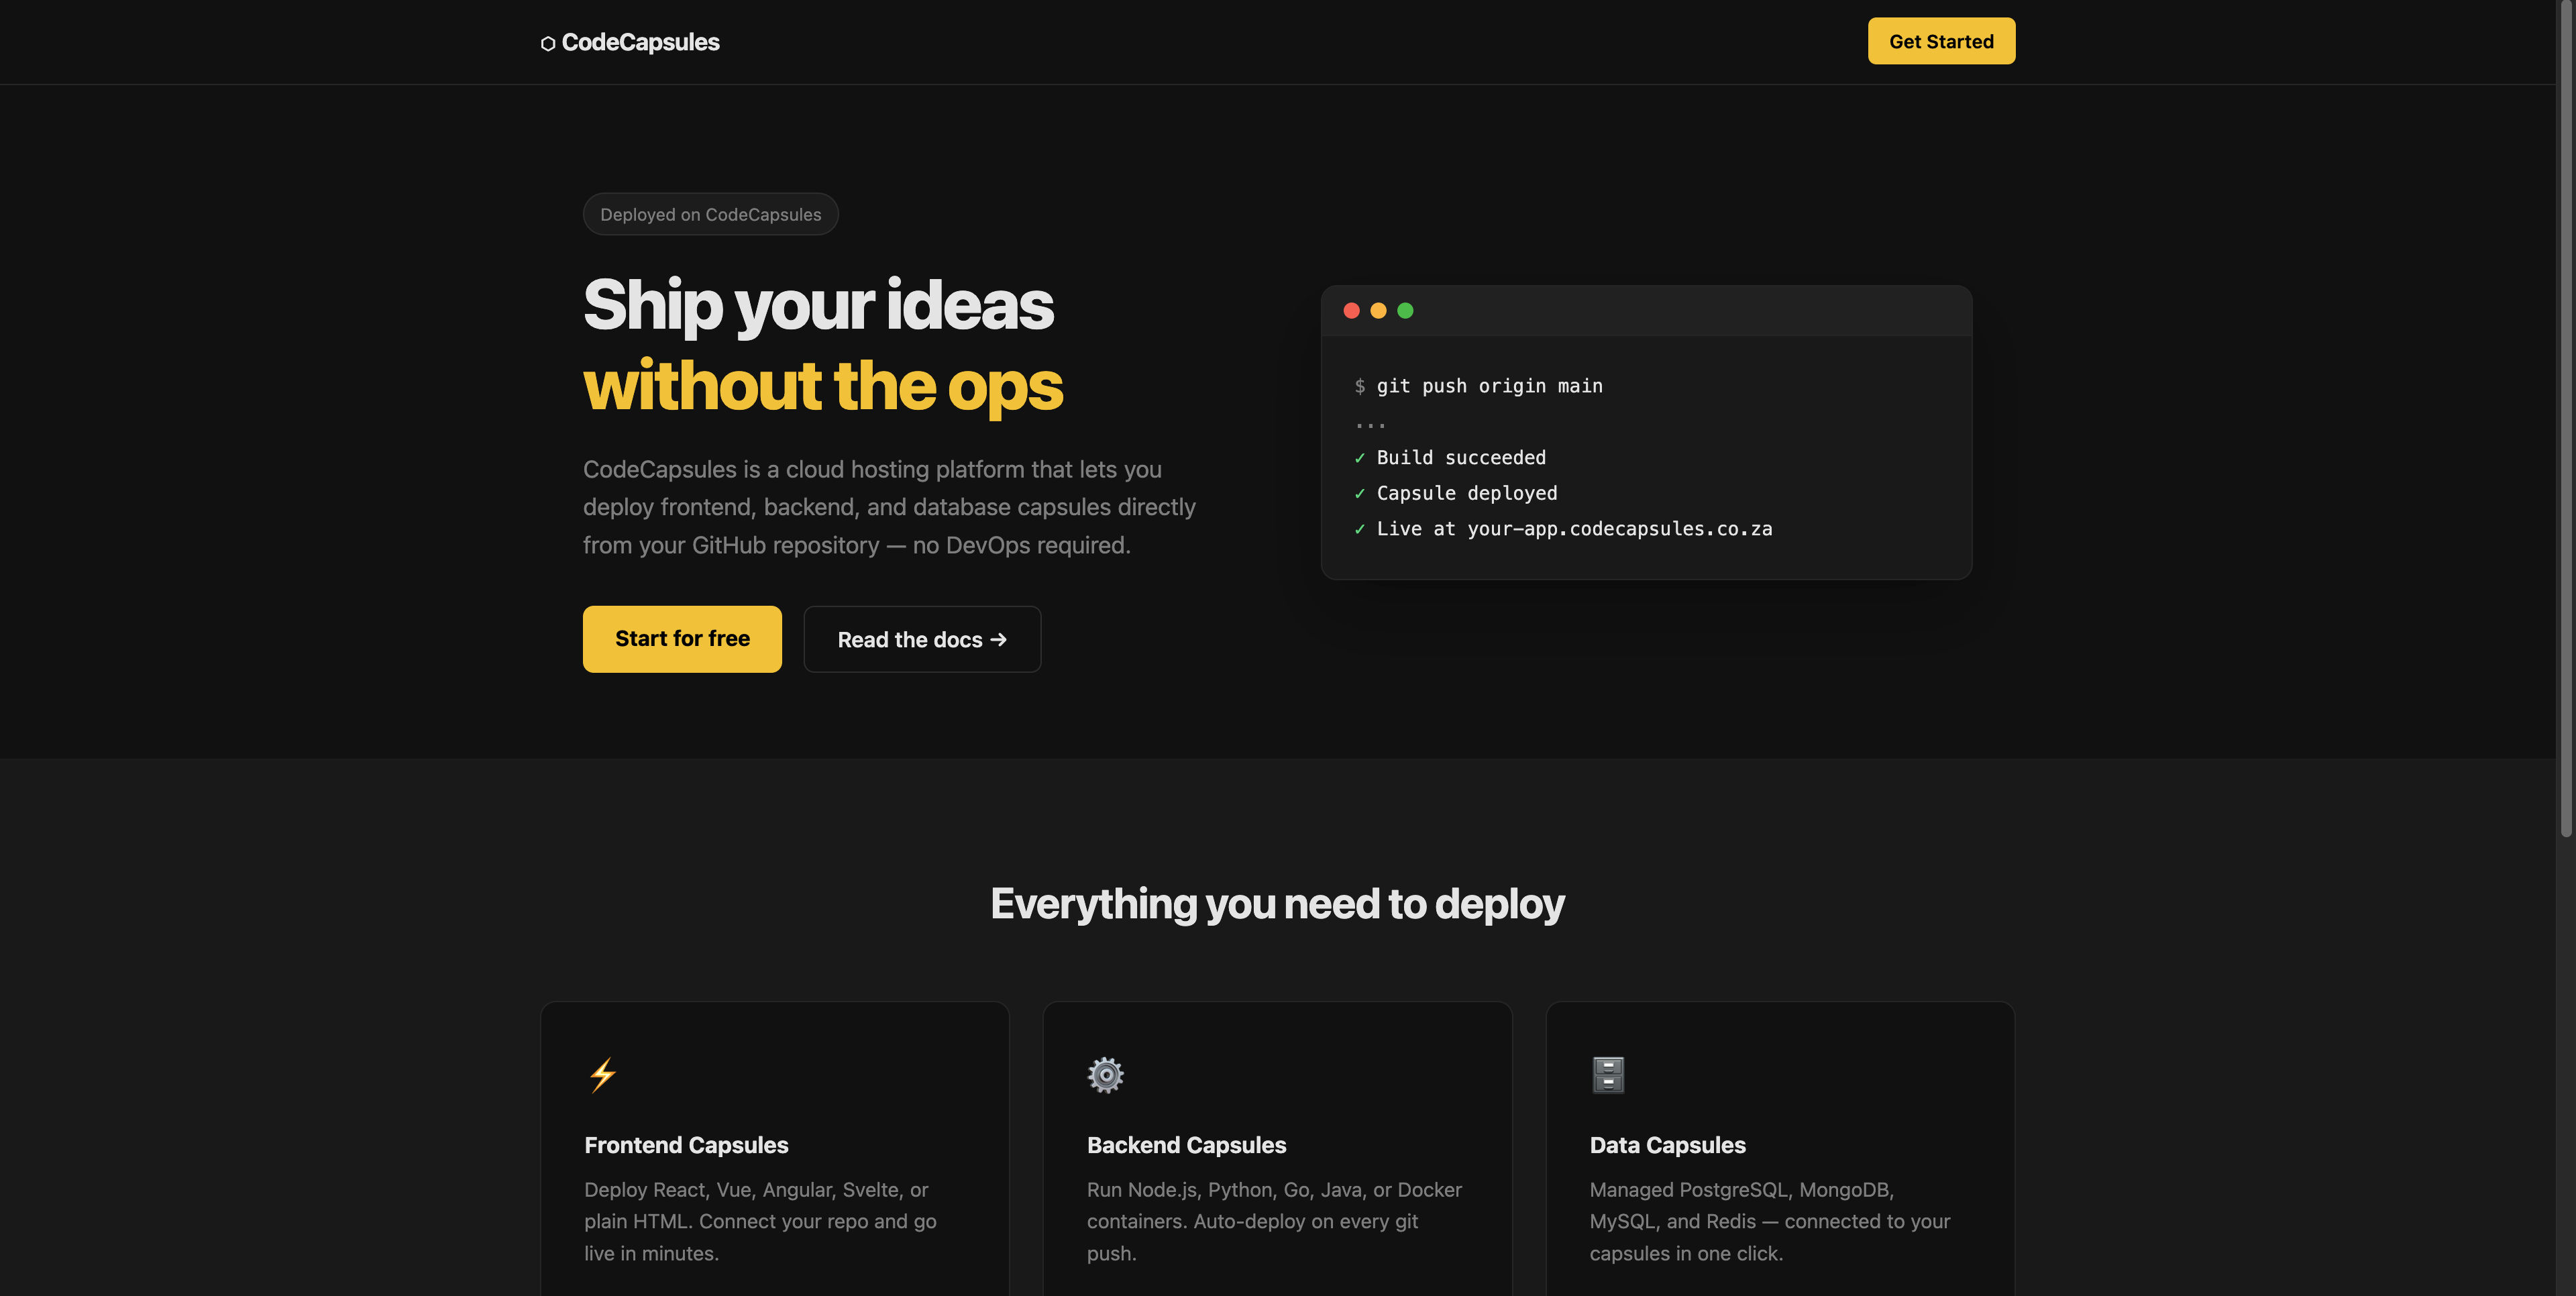
Built with AI
The demo site above was generated using an AI coding agent. If you're building with agents yourself, here's the prompt that produced it:
Create a single-page static HTML site for CodeCapsules (a cloud hosting platform).
Use only index.html and style.css — no build tools, no JavaScript frameworks.

Design requirements:
- Dark theme with #0f0f0f background and #f5c800 yellow accent colour
- Navigation bar with logo and "Get Started" CTA button
- Hero section with a headline, subheading, two CTA buttons, and a terminal window graphic
  showing a git push → build succeeded → deployed sequence
- Features section with three cards: Frontend Capsules, Backend Capsules, Data Capsules
- CTA section prompting the user to deploy their own copy
- Footer with a "Built with plain HTML & CSS · Hosted on CodeCapsules" note
- Fully responsive (single column on mobile)

Keep the markup semantic and the CSS clean with custom properties.
Setup
Code Capsules connects to GitHub repositories to deploy applications. To follow this guide, you'll need a Code Capsules account and a GitHub account.
To demonstrate how to deploy a static HTML site with Code Capsules, we've provided an example application, which you can find on the Code Capsules GitHub repository.
Sign in to GitHub, and fork the example application by clicking Fork at the top-right of your screen and selecting your GitHub account as the destination.
Create an Account with Code Capsules
Log in to your Code Capsules account and navigate to the Spaces tab. Once there, click the yellow + icon on the bottom left of the screen to add a new Space.
Follow the prompts, choosing your region and giving your Space a name, then click Create Space.
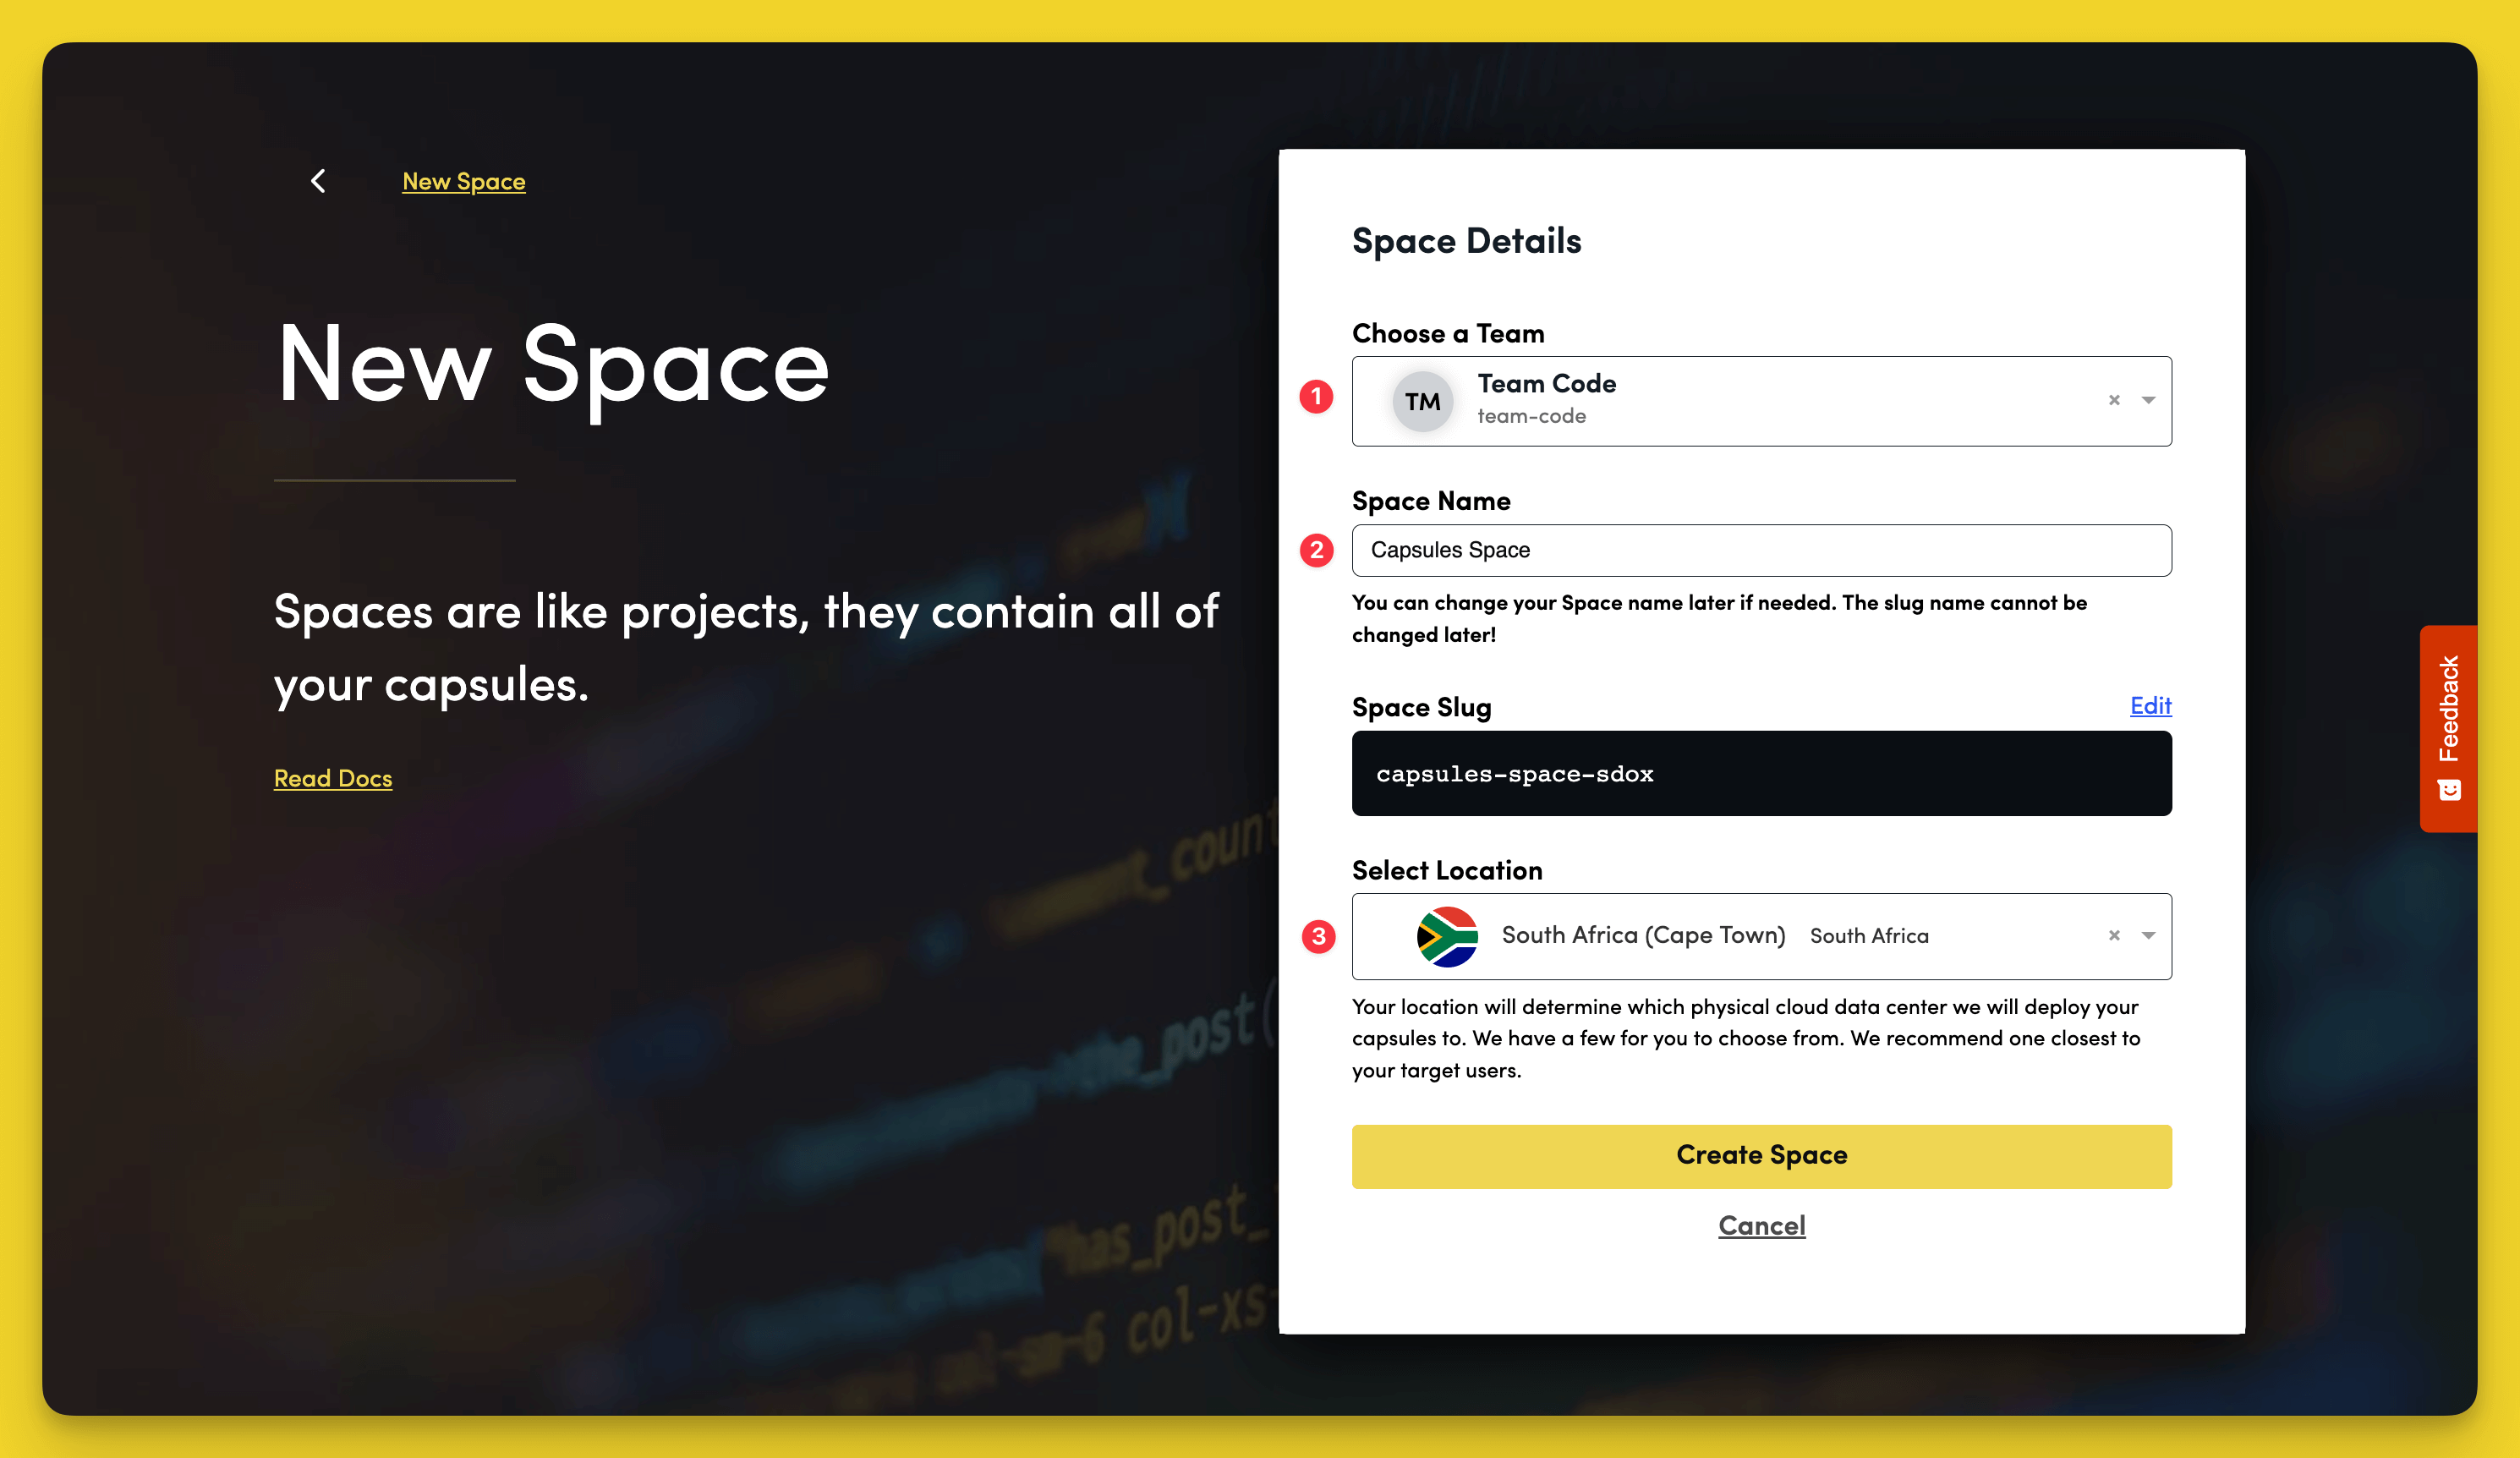
- Choose a Team — you can use a default personal Team if you're the only person working on this project, or a named Team if you're collaborating with others
- This should remind you of the project, for example, customer-api or notetaking-app
- Choose a country close to where most of your users will be
Create the Capsule
A Capsule provides the server for hosting an application on Code Capsules.
To create a new Capsule for your Space, follow the instructions below:
- Choose Frontend Capsule, your Team, and Space.
- Choose your payment plan.
- Click the GitHub button and give access to the repository you forked at the start of the tutorial.
- Choose the GitHub repository you forked.
- Press Next.
- Leave Build Command and Static Content Folder Path blank.
- Click Create Capsule.
Code Capsules will automatically build your application when you've finished creating the Capsule.
Once your application is live, you can view the build log by selecting the Deploy tab and clicking the View build log link in the Builds section.
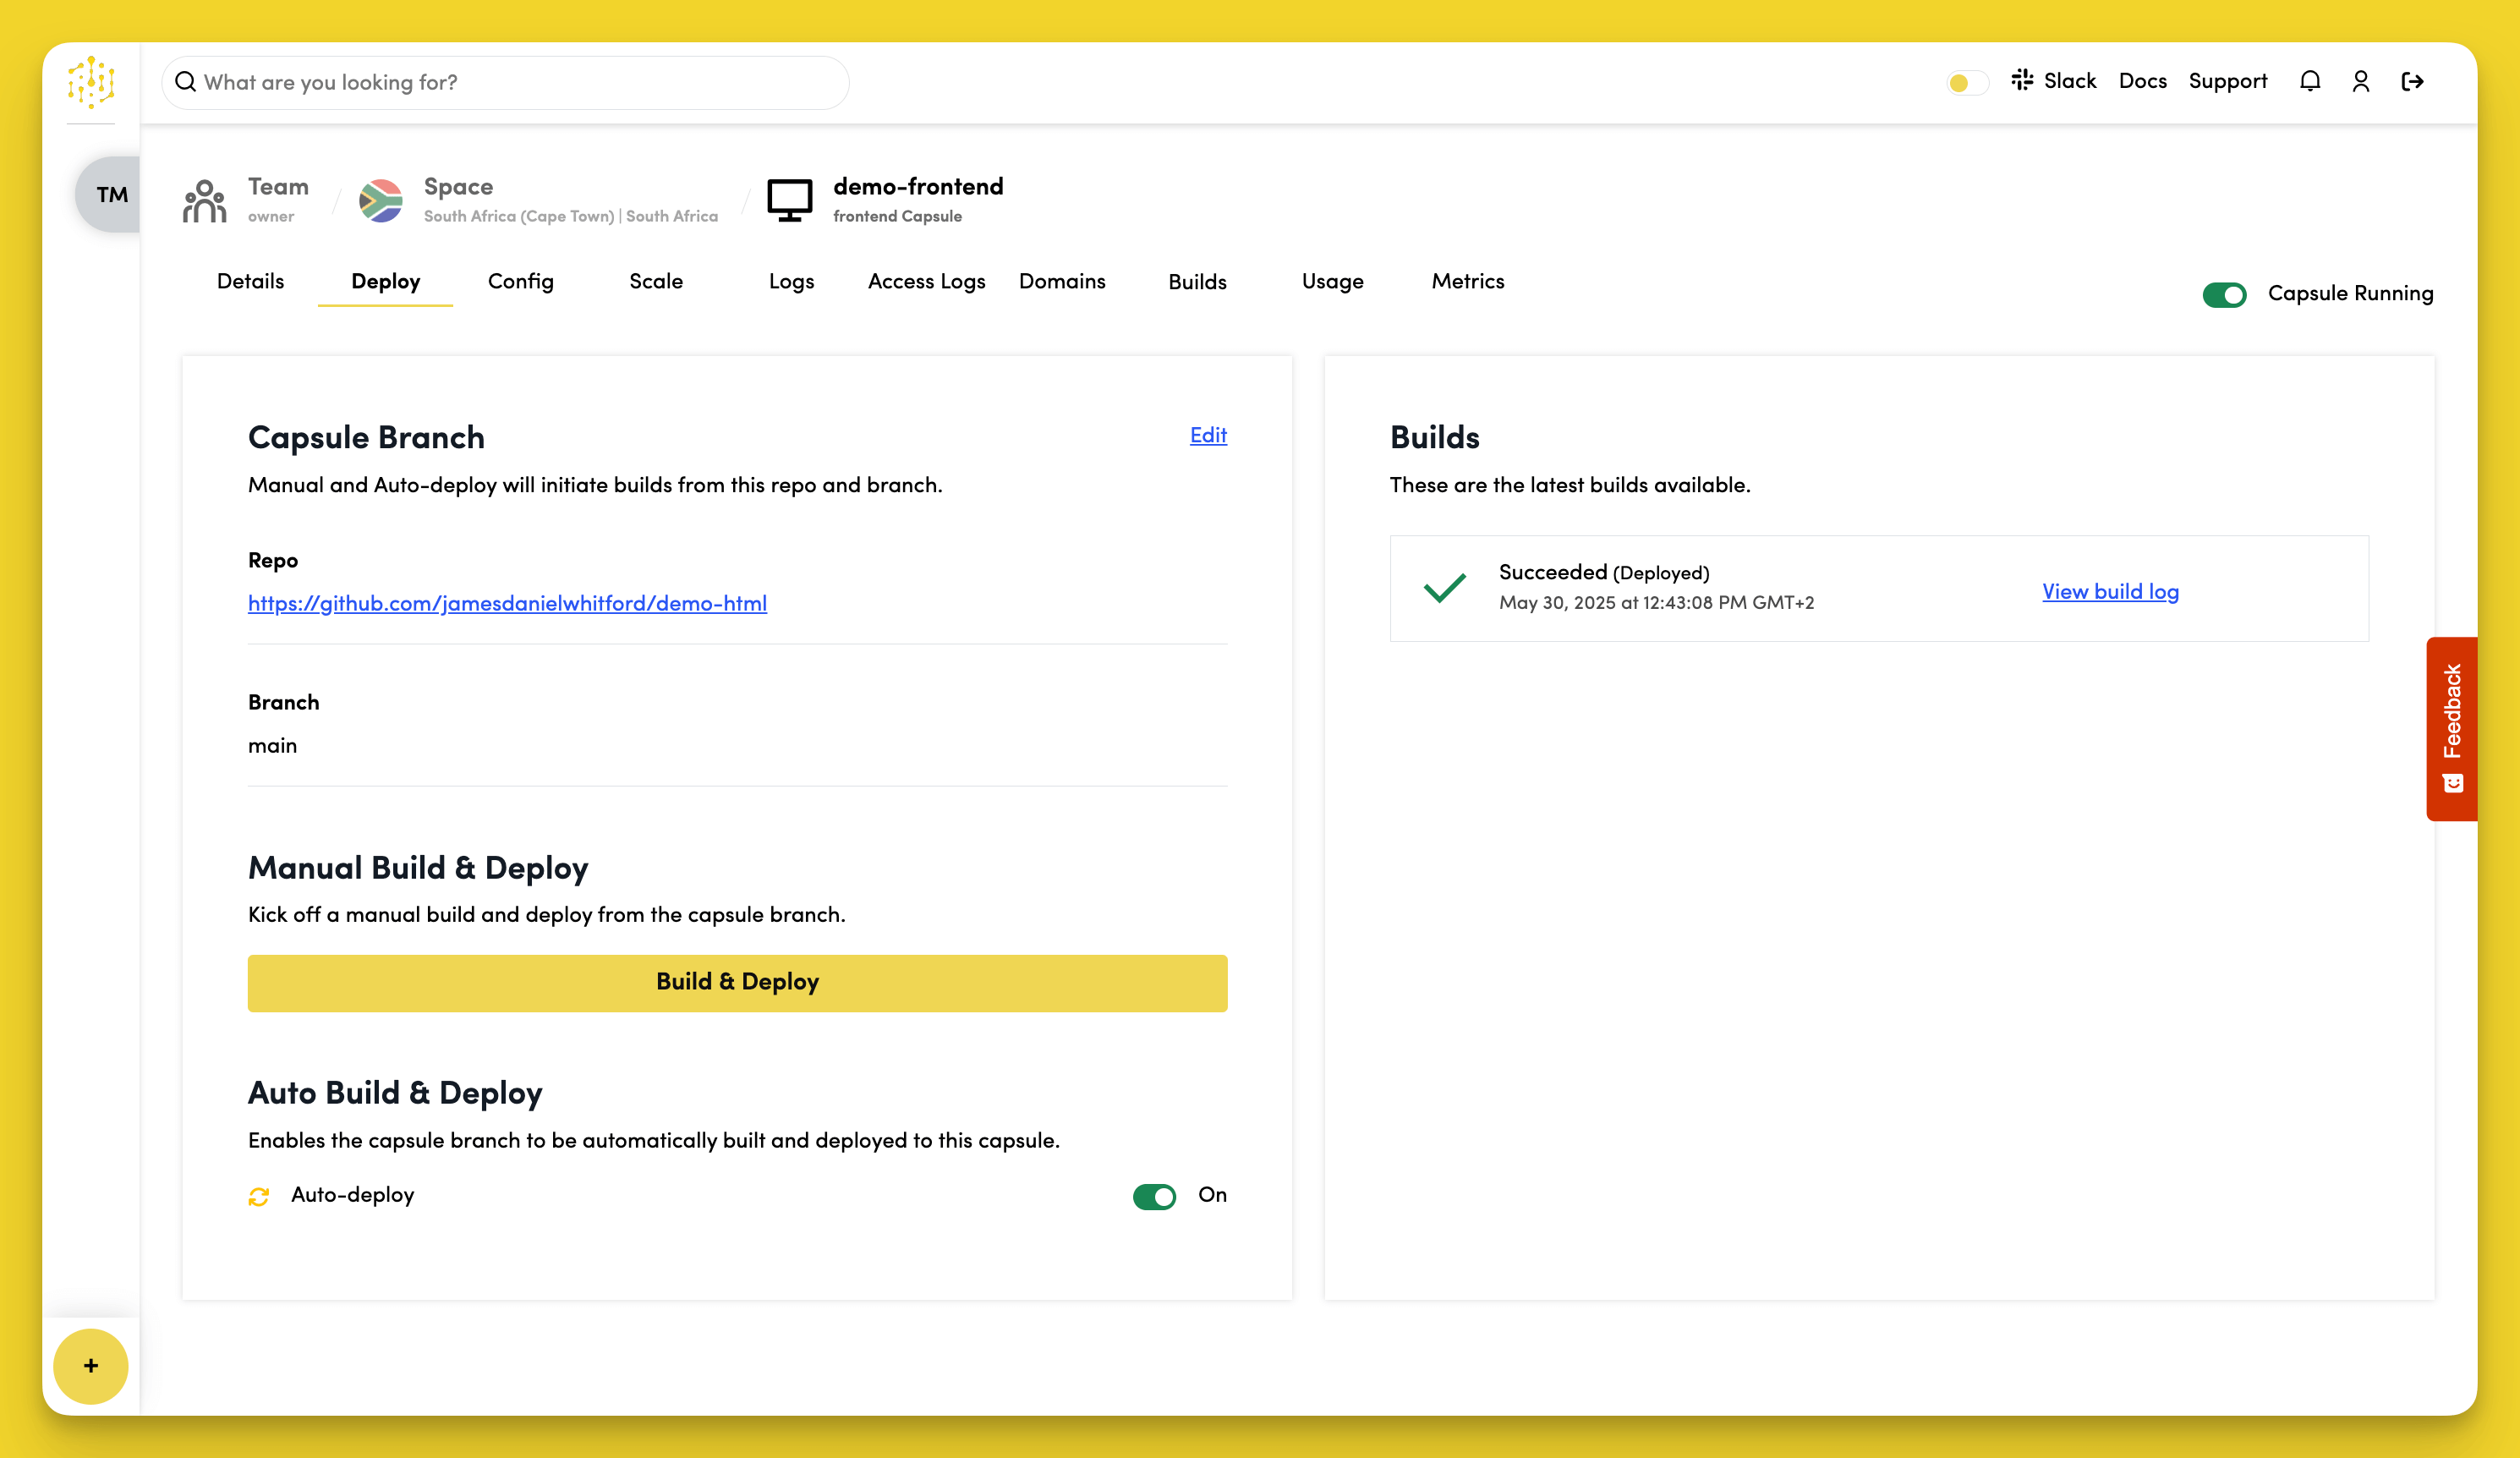
Once the build is complete, a URL link will appear in the URL section in the Details tab. Click the link, and you should see your deployed application.
If you'd like to deploy another application in a different language or framework, take a look at our other deployment guides.