Configure Your Persistent Storage
To configure your Persistent Storage Capsule, navigate to the "Details" tab.
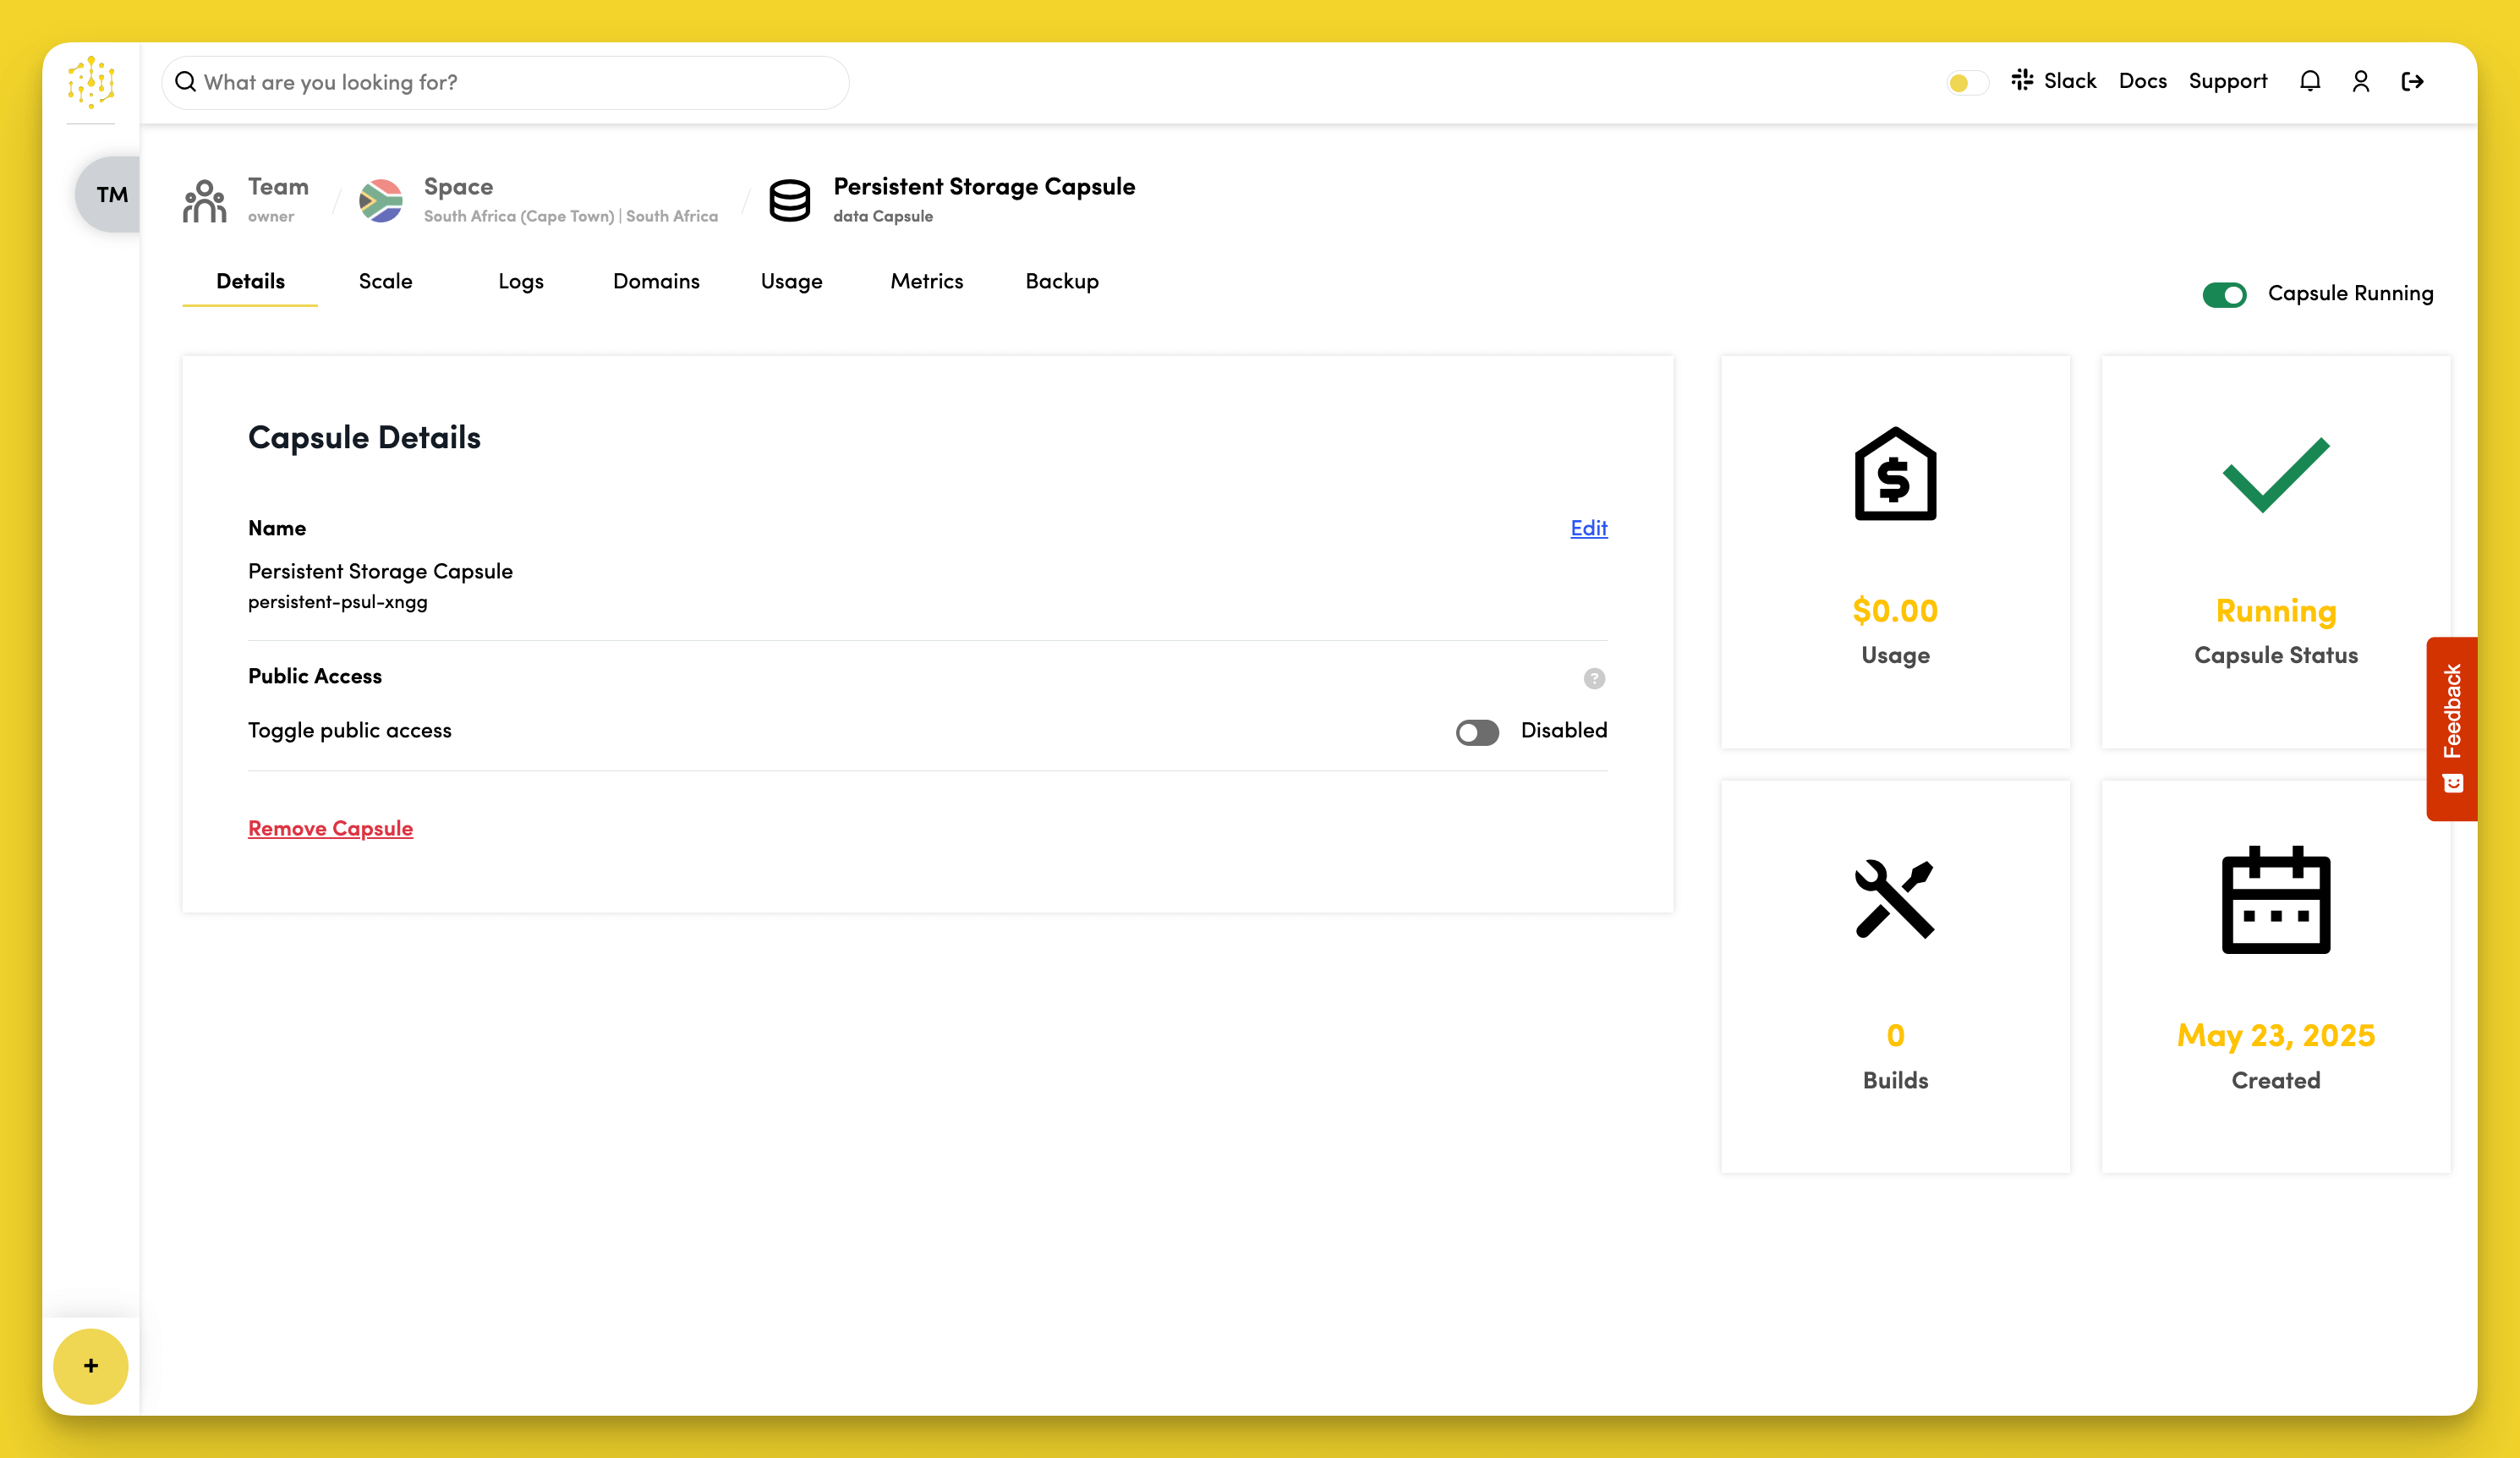
Edit Capsule Name
Click "Edit" in the "Capsule Details" section to rename your Persistent Storage Capsule.
Enable Public Access
Toggle "Public Access" in the "Public Access" section to allow connections from outside your Space.
This is disabled by default for security.
Connect to WebDAV
When Public Access is enabled, you can connect to your storage using WebDAV.
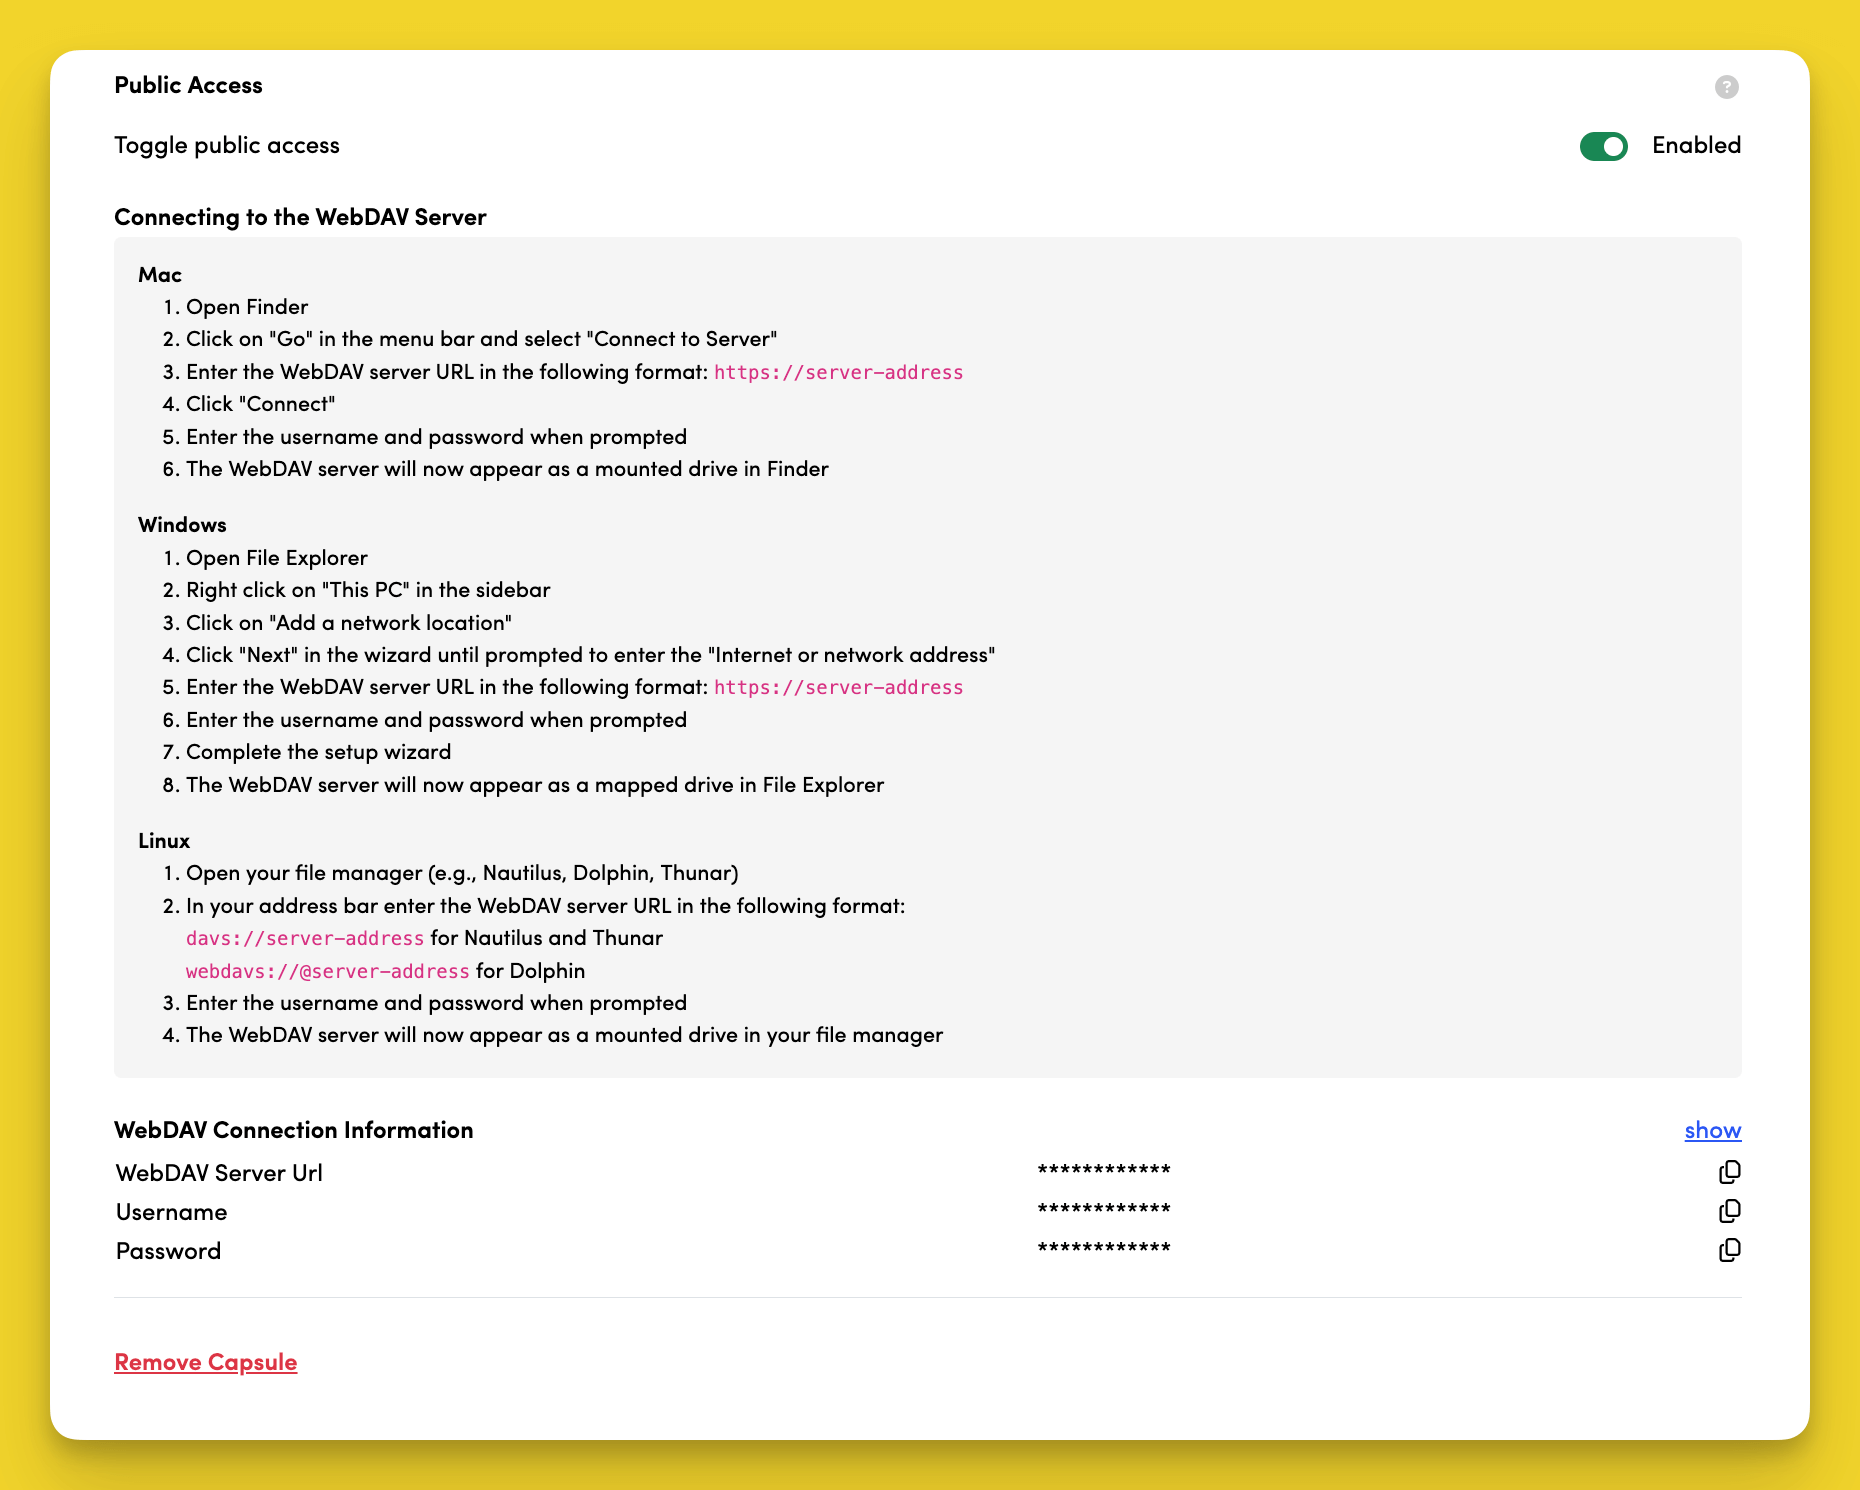
View Connection Information
Click "show" in the "WebDAV Connection Information" section to view:
- WebDAV Server URL
- Username
- Password
Connect from Mac
- Open Finder
- Click on "Go" in the menu bar and select "Connect to Server"
- Enter the WebDAV server URL in the following format:
https://server-address - Click "Connect"
- Enter the username and password when prompted
- The WebDAV server will now appear as a mounted drive in Finder
Connect from Windows
- Open File Explorer
- Right click on "This PC" in the sidebar
- Click on "Add a network location"
- Click "Next" in the wizard until prompted to enter the "Internet or network address"
- Enter the WebDAV server URL in the following format:
https://server-address - Enter the username and password when prompted
- Complete the setup wizard
- The WebDAV server will now appear as a mapped drive in File Explorer
Connect from Linux
- Open your file manager (e.g., Nautilus, Dolphin, Thunar)
- In your address bar enter the WebDAV server URL in the following format:
davs://server-addressfor Nautilus and Thunarwebdavs://@server-addressfor Dolphin
- Enter the username and password when prompted
- The WebDAV server will now appear as a mounted drive in your file manager