Best Practices for Structuring MEAN/MERN/MEVN Projects
Introduction
The MEAN stack—MongoDB, Express.js, Angular, and Node.js—is a powerful technology suite that enables developers to build robust and scalable web applications. Adhering to best practices in structuring your MEAN project can have a significant impact on maintainability and scalability. In this article, we’ll delve into some of these practices to guide you towards a more organized and efficient development process.
MEAN Stack Overview
The MEAN stack combines the following technologies:
- MongoDB: A NoSQL database.
- Express.js: A backend framework running on Node.js.
- Angular: A frontend framework.
- Node.js: The JavaScript runtime for server-side code.
Together, these components provide an end-to-end framework for building web applications in JavaScript and TypeScript.
MERN Stack Overview
The MERN stack—MongoDB, Express.js, React, and Node.js—is another popular JavaScript technology stack. Similar to MEAN, it provides an end-to-end framework for web development, with React as its front-end library.
MEVN Stack Overview
The MEVN stack, consisting of MongoDB, Express.js, Vue.js, and Node.js, provides an alternative to both MEAN and MERN stacks. It leverages Vue.js for front-end development and retains MongoDB, Express.js, and Node.js for the back-end.
Project Structure
Let’s start by discussing how to ideally structure your MEAN stack project. Below is an example directory layout:
    my-mean-app/
    ├── client/
    ├── server/
    ├── config/
    ├── scripts/
    ├── package.json
    └── README.md
This separation of client and server code can help maintain a clean code base, making it easier for developers to navigate through the project.
Folder By Feature vs Folder By Type
There are mainly two strategies when it comes to organizing code: “Folder by Feature” and “Folder by Type.”
Folder By Feature
    server/
    ├── users/
    │   ├── user.model.js
    │   ├── user.controller.js
    │   └── user.routes.js
    ├── products/
    │   ├── product.model.js
    │   ├── product.controller.js
    │   └── product.routes.js
    └── ...
Here, each feature (like users, products, etc.) has its own directory that contains all related models, controllers, and routes. This can be particularly useful in larger projects.
Folder By Type
    server/
    ├── models/
    │   ├── user.model.js
    │   └── product.model.js
    ├── controllers/
    │   ├── user.controller.js
    │   └── product.controller.js
    ├── routes/
    │   ├── user.routes.js
    │   └── product.routes.js
    └── ...
In this approach, you group files by their type, regardless of which feature they relate to. This might be easier to start with, especially for smaller projects.
Code Modularity
Modularity is key to a maintainable codebase. Whether you’re dealing with the Angular frontend or the Express backend, make sure you break down your code into smaller, reusable pieces. Using design patterns like MVC (Model-View-Controller) for the backend and components and services in Angular can be really helpful.
Example: Modular Express Route
    // user.routes.js
    // Import the necessary modules
    const express = require('express');
    const userController = require('./user.controller');

    // Create an Express router object
    const router = express.Router();

    // Define routes and attach controller methods
    router.get('/', userController.getAllUsers);
    router.get('/:id', userController.getUserById);
    router.post('/', userController.createUser);

    // Export the router
    module.exports = router;
Environment Configuration
Always externalize configuration details like database URIs, API keys, and environment-specific settings. Use environment variables or dedicated configuration files to manage these settings.
    // config.js
    // External configuration
    module.exports = {
      PORT: process.env.PORT || 3000,
      DB_URI: process.env.DB_URI || 'mongodb://localhost:27017/myapp',
      // ... other settings
    };
Version Control
Always use a version control system like Git to manage your source code. Adopt a Git branching strategy that suits your development workflow. This not only serves as a backup for your code but also makes collaboration among team members smoother.
Deployment of a MEAN Stack Application on Code Capsules
Registering and Setting Up on Code Capsules
-
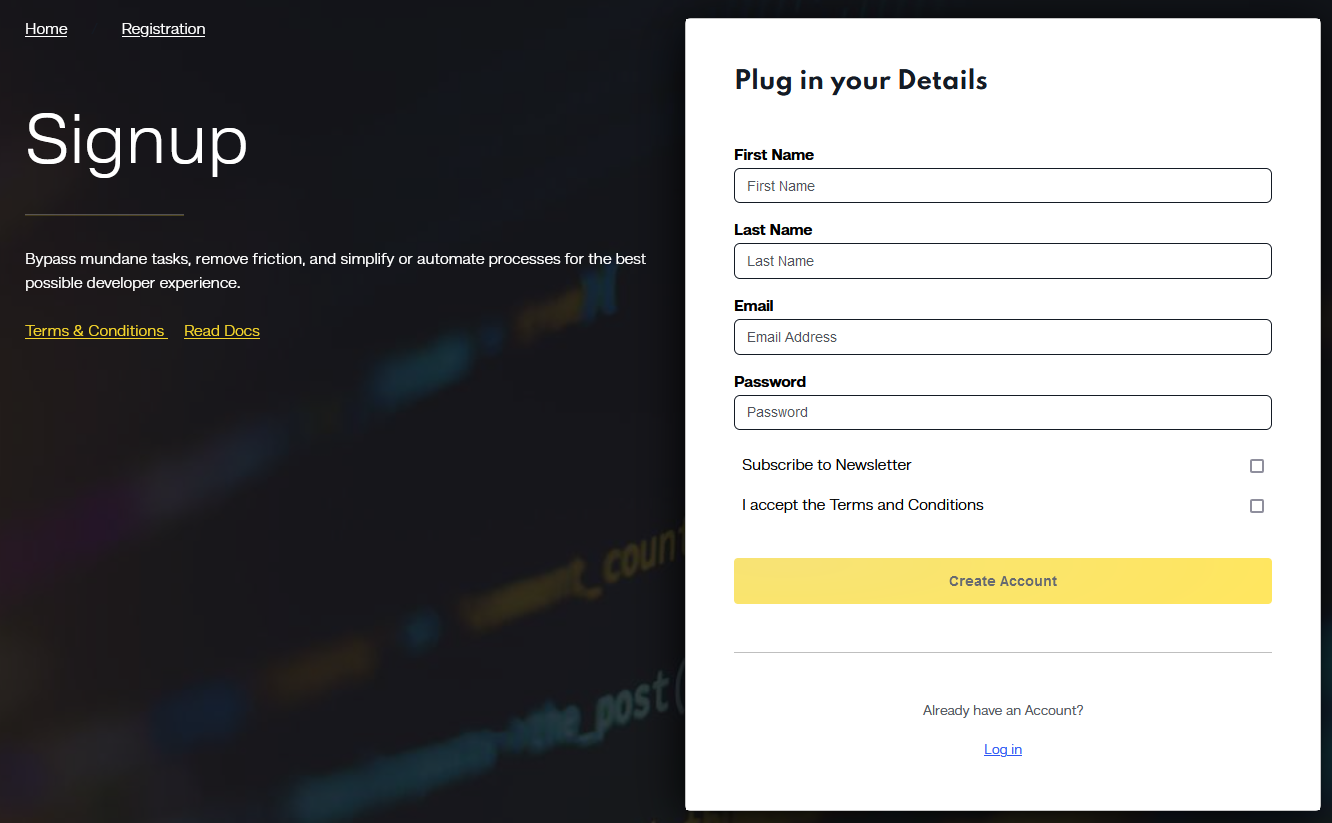
Registration on Code Capsules: Start by registering an account on Code Capsules. Follow the steps to create your account and get started.
-
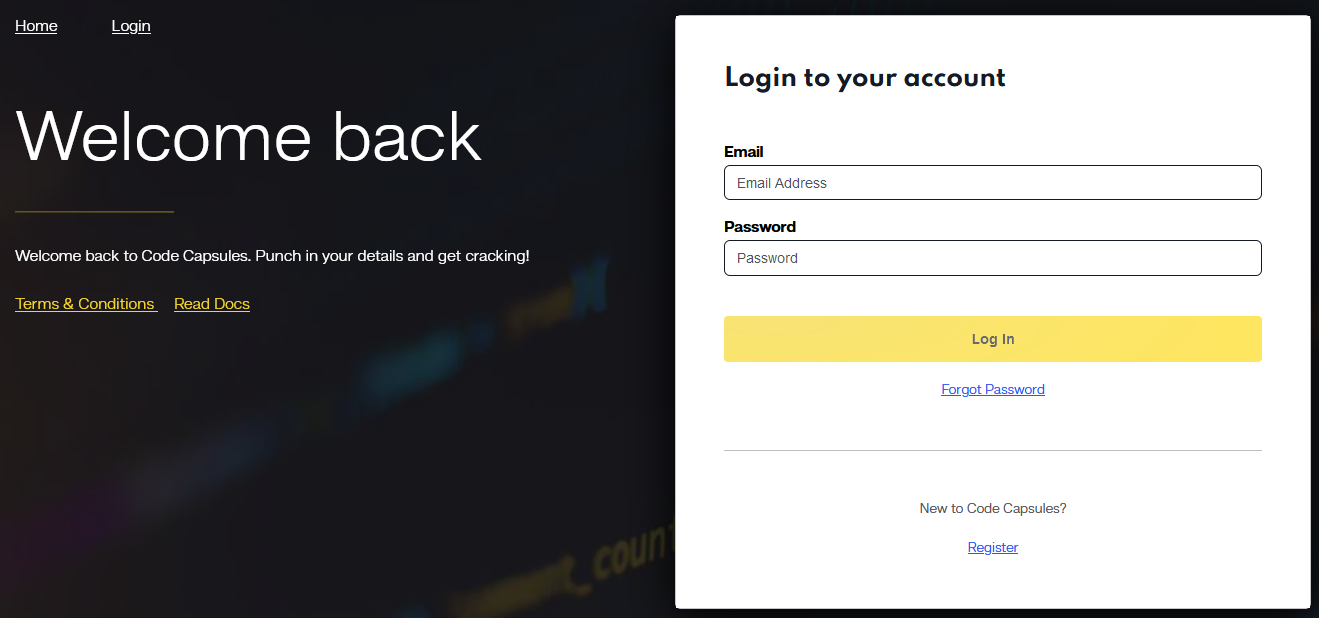
Logging into Code Capsules: Once registered, log in to your Code Capsules account to begin setting up your project.
-
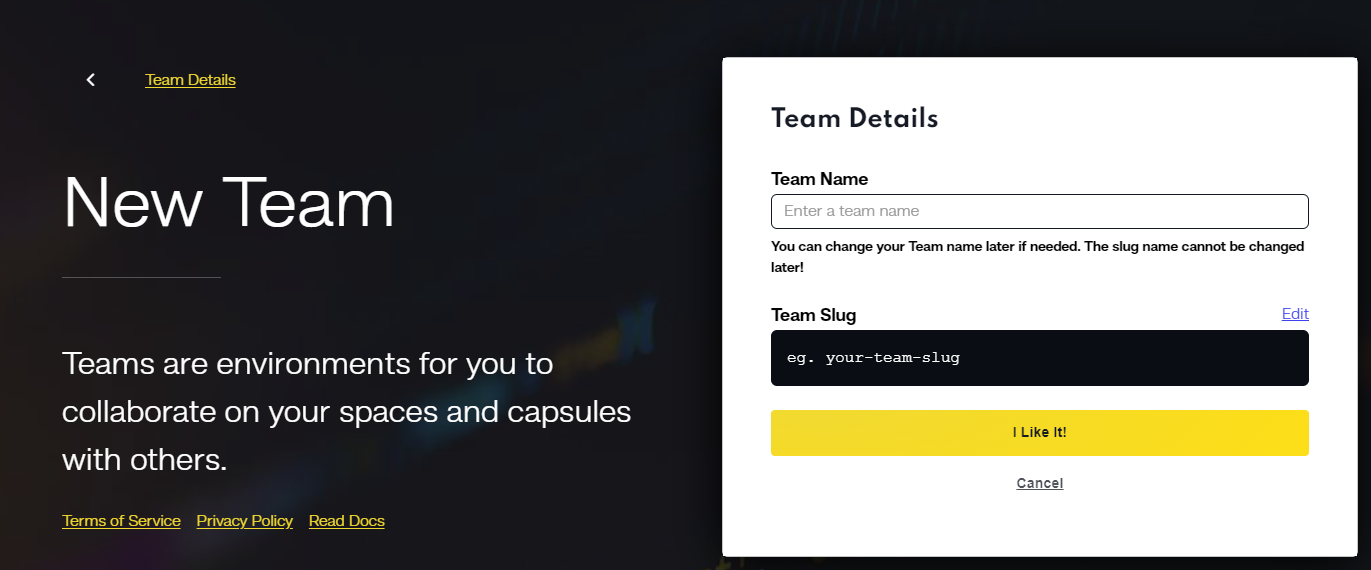
Creating a Team: Create a team within Code Capsules for collaborative project management.
-
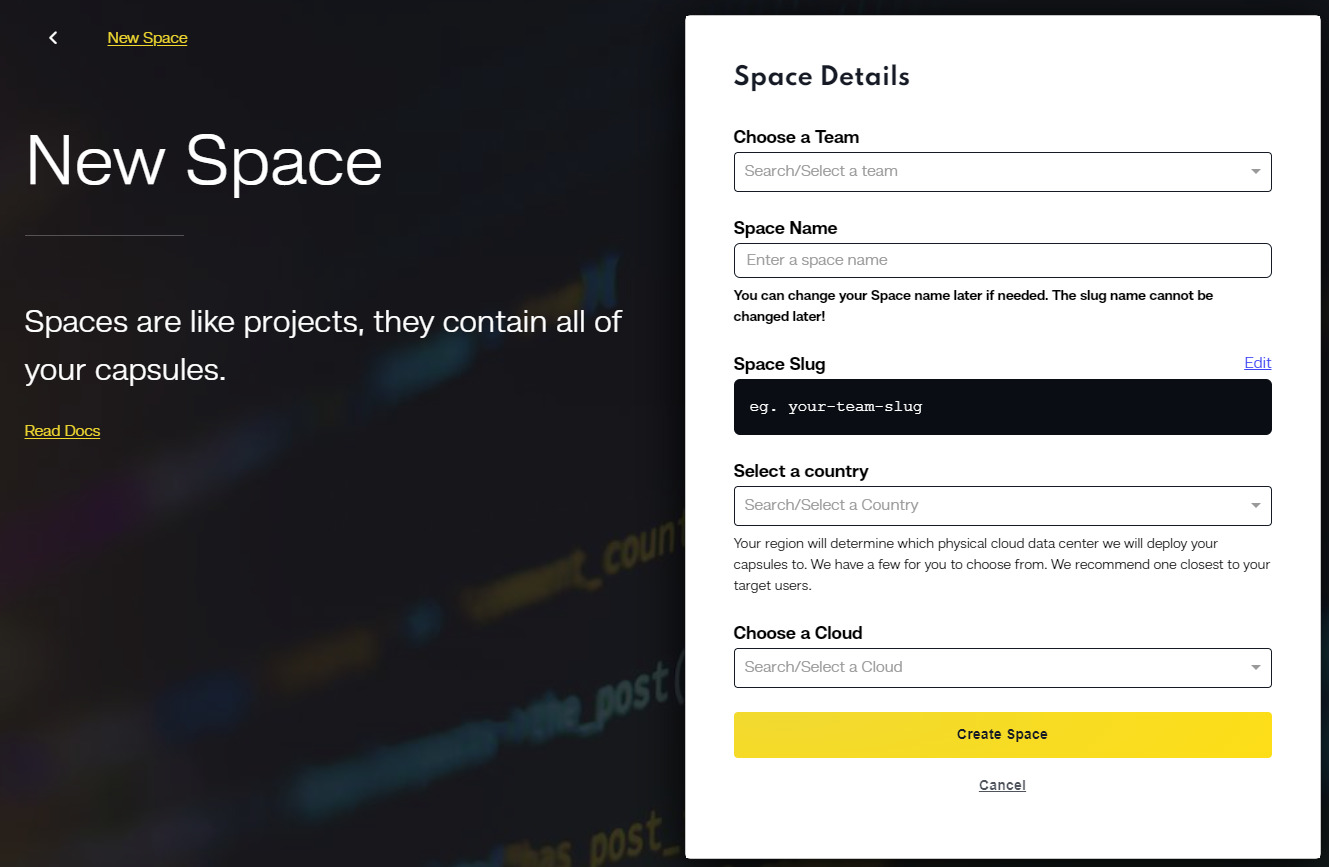
Setting Up a New Space: Create a new space in Code Capsules for hosting your projects. Spaces can be tailored for different environments like staging or production.
Deploying Your MEAN Stack Application
-
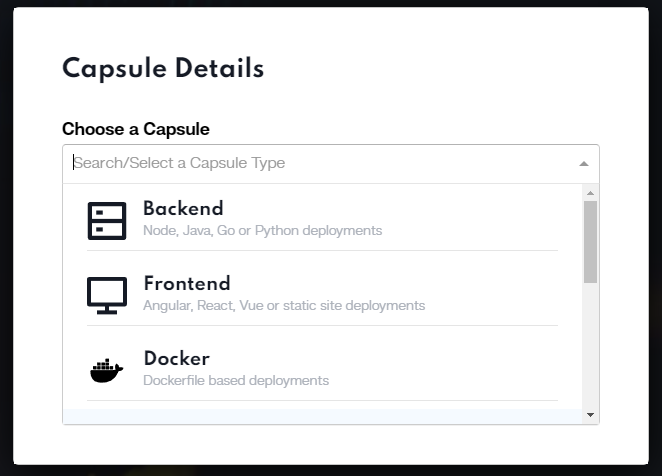
Creating and Configuring a New Capsule: Start a new capsule within your space. The capsule serves as a container for your project.
Choose the type of capsule based on your needs (frontend, backend, or Docker).
-
Configuring Environment Variables: Set environment variables in your capsule settings. This is crucial for database connections and other configuration details.
-
Uploading Code and Dependencies: Use Code Capsules’ interface to upload your project code or connect to your GitHub repository.
Ensure that all dependencies are specified in your
package.jsonfiles for both frontend and backend. -
Launching the Capsules: Once configured, launch your capsules. Code Capsules will build and deploy your application.
Monitor the deployment process and check logs for any potential issues.
-
Testing and Verifying Deployment: After deployment, test your application to ensure it’s running correctly.
Verify both the frontend and backend functionalities.
Final Steps
-
Updating and Maintenance: For updates, push changes to your repository or re-upload the updated code.
Regularly monitor the performance and logs to maintain your application.